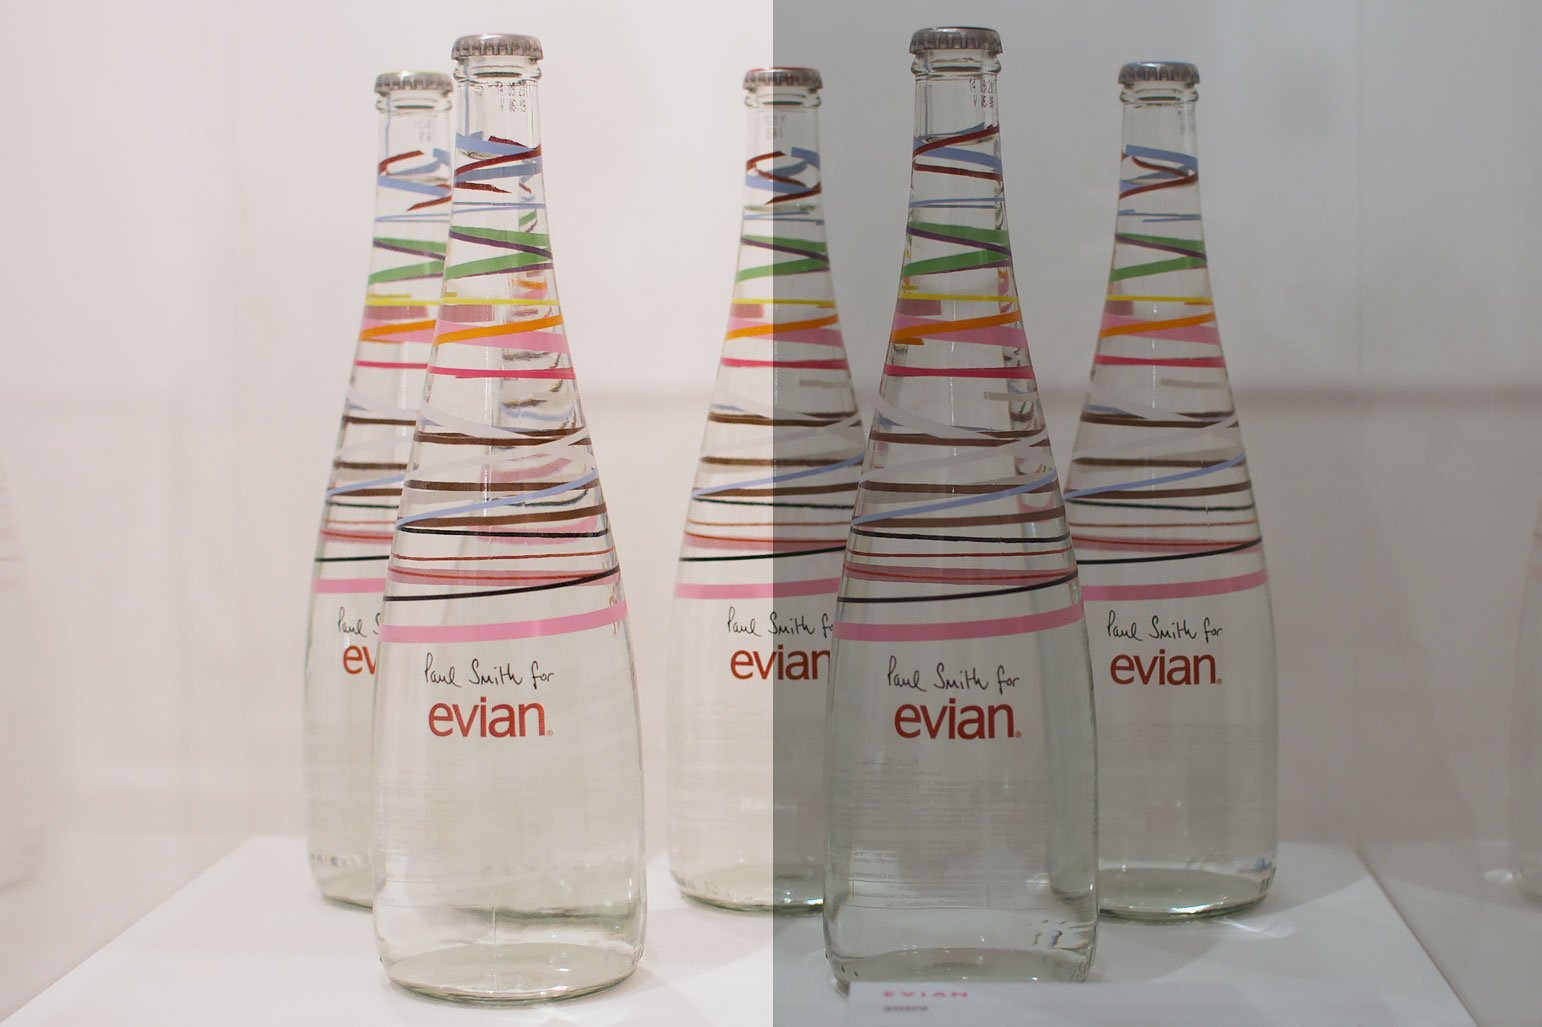
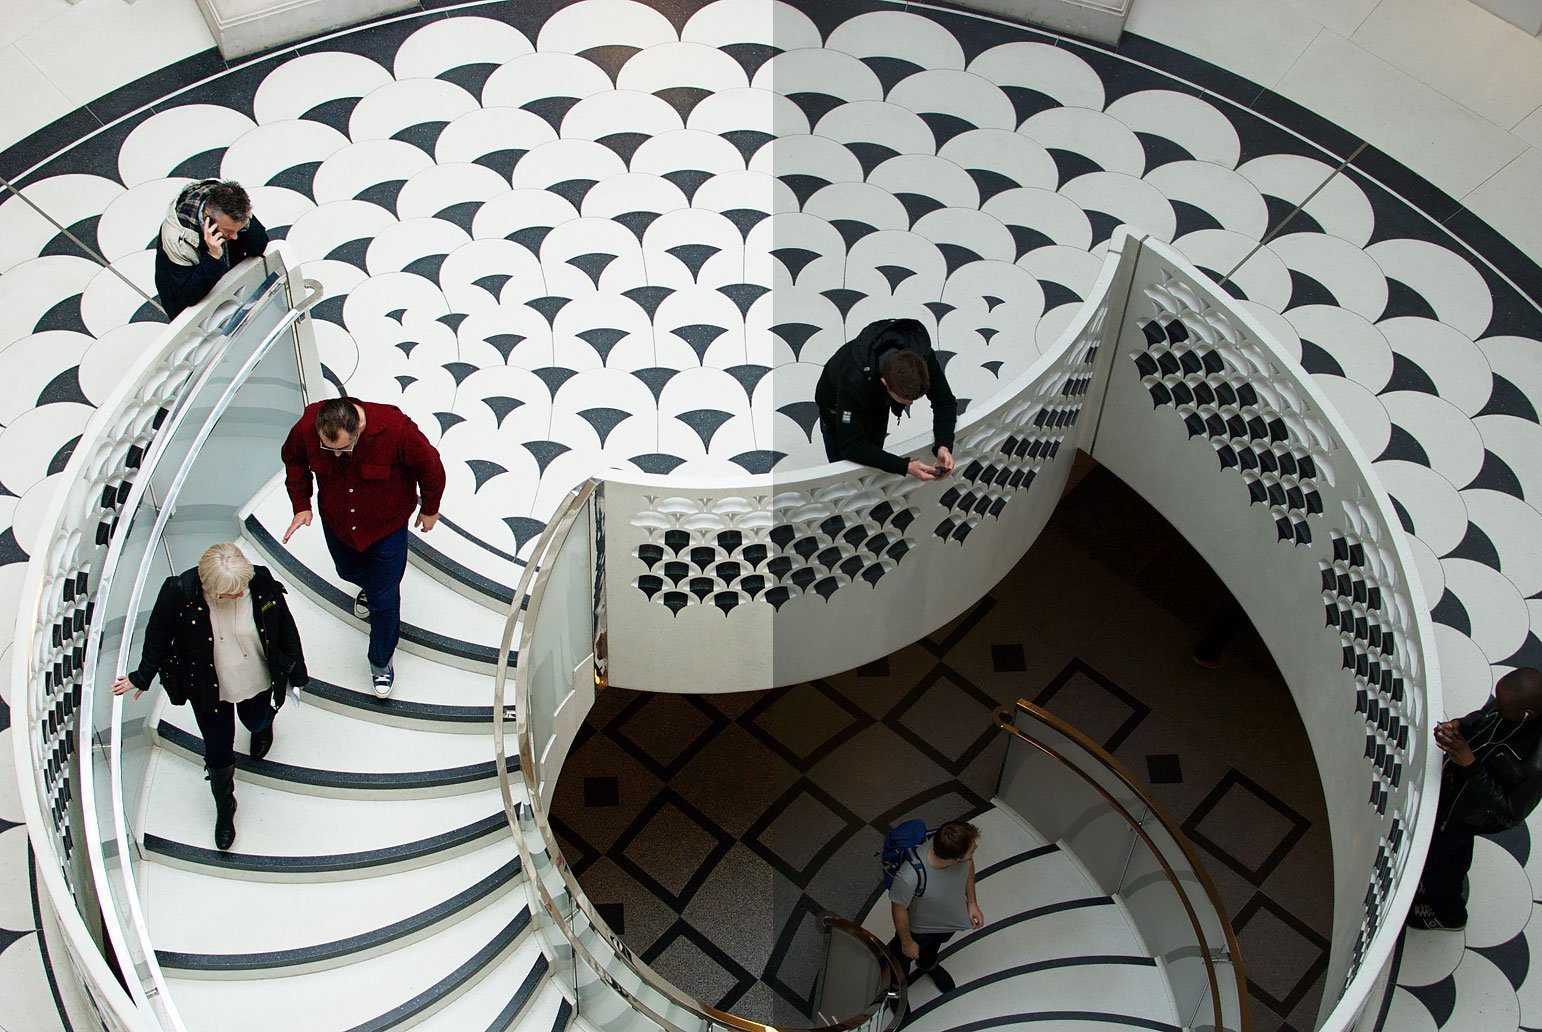
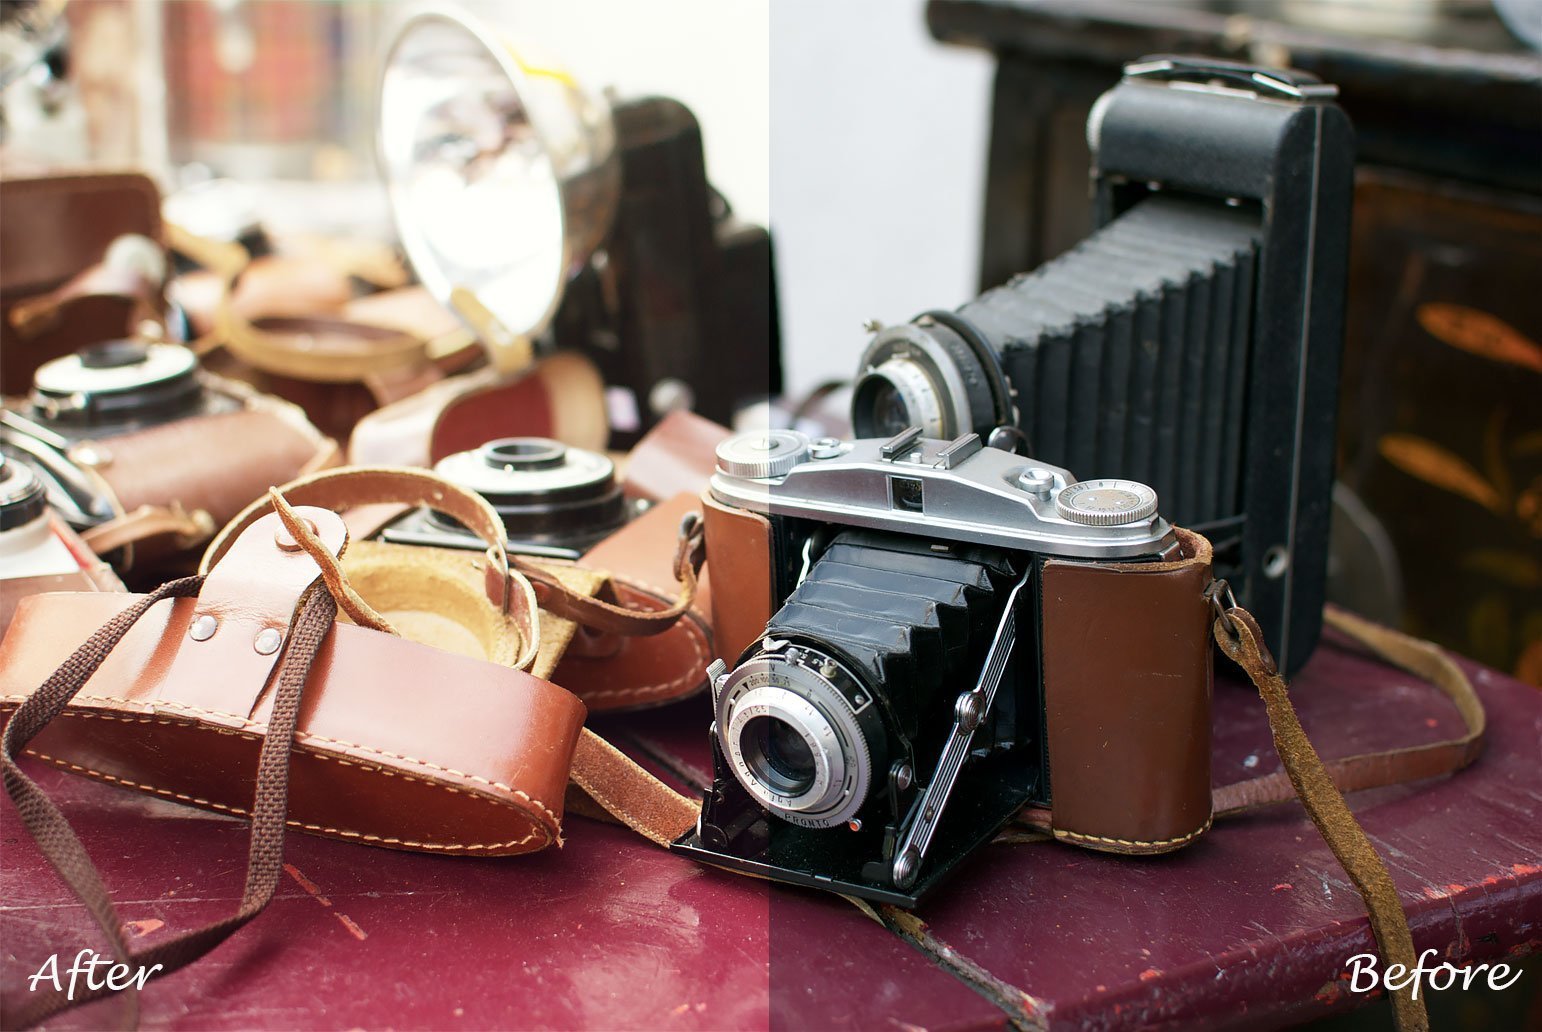
 I’m gonna let you in on a little secret. Just between us, okay? The way my photos look on this blog… is not the same as how they look right after taking them. Yeah, I know…I’ll give you a second to process.
When you start to become more serious about your photography, editing is inevitable. I shoot all my pictures in RAW-format which means that I have to do at least some editing on every photo, because they’re not yet processed in my camera (as is the case when you shoot in jpg). RAW gives me more flexibility, but that doesn’t mean I want to spend hours behind my computer adjusting exposure, contrast etc.
My basic editing happens in Lightroom. I use this program to import my photos, straighten and crop them, adjust exposure, white balance, highlights and shadows… The basics. But the real magic happens in Totally Rad’s RadLab.
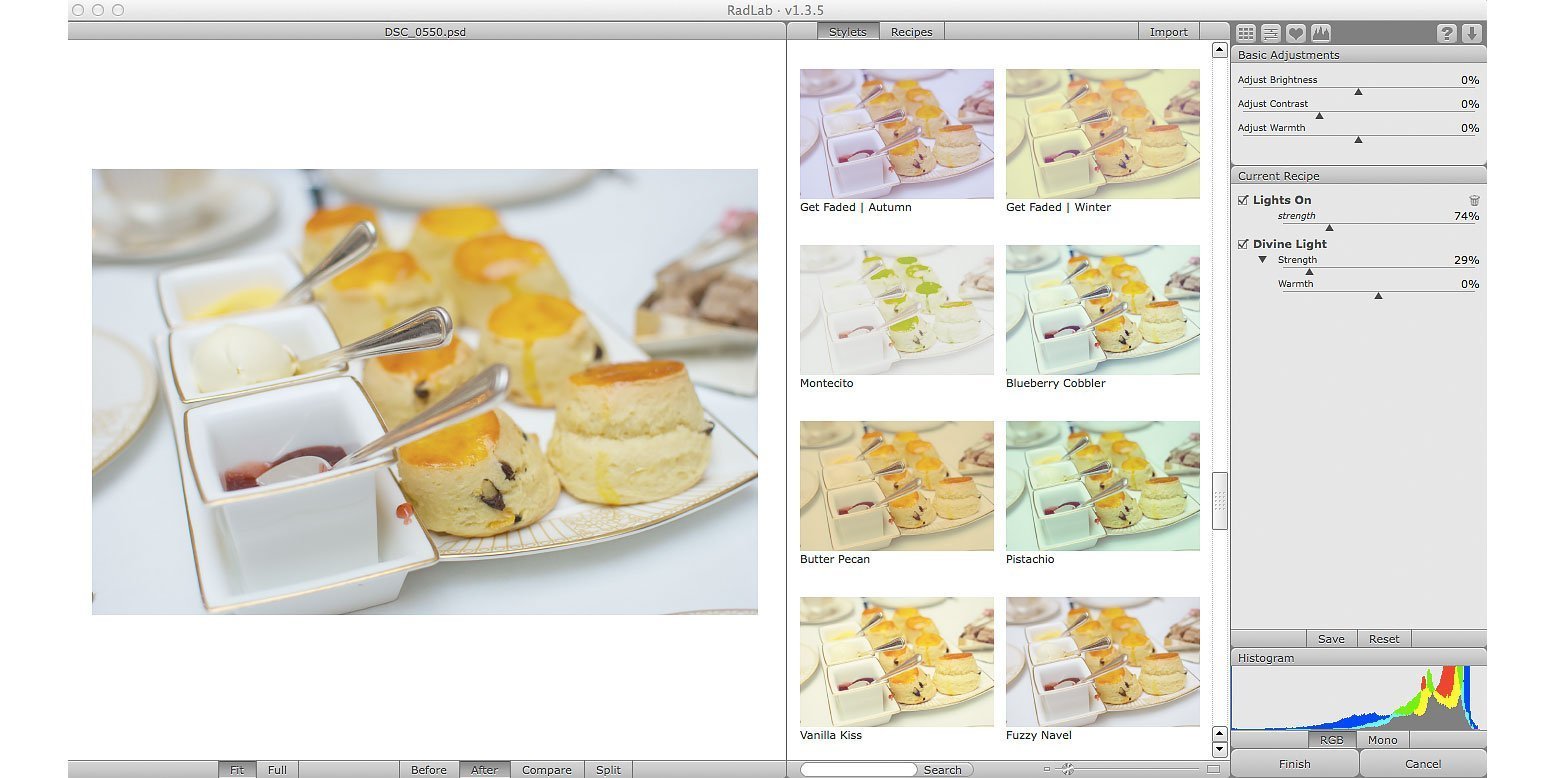
RadLab is a filter plugin for Photoshop. And before you get all nervous, not to worry. Photoshop scares me as well. When I open the program I have no idea where to start or what to do. But RadLab is sort of a program within Photoshop. So you open Photoshop, click on RadLab and it opens its own window where you can edit your photo.
So what can you do with RadLab? A lot! It has 80 different so-called stylets that you can use on your photo. From different stylets for basic adjustments and sharpening, to optical and lens effects, modern color, vintage color and black & white effects. There’s a little preview for every effect so you can already see how it will improve your photo. You can adjust the strength of each effect, and the best part is, you can combine them into a ‘recipe’ to create your own unique style. It’s so easy and they really make your photos ‘pop’.
I try to keep the photos on my blog as natural looking as possible, so I don’t go wild with all the possible effects. Most of the time I use a combination of Lights on (increase exposure), +Contrast, EZ-Burn (for a subtle vignette), Divine Light (to give it some magical light), Iron Mousse (if I need a bit more ‘edge’) and some Fuzzy Navel (for a soft warm glow). And I love Bitchin BW for my black and white photos. But I do play around with the other effects when I take photos that won’t end up on the blog.

So now it’s your turn… What do you use to edit your photos? Any secret tools I should know of?
