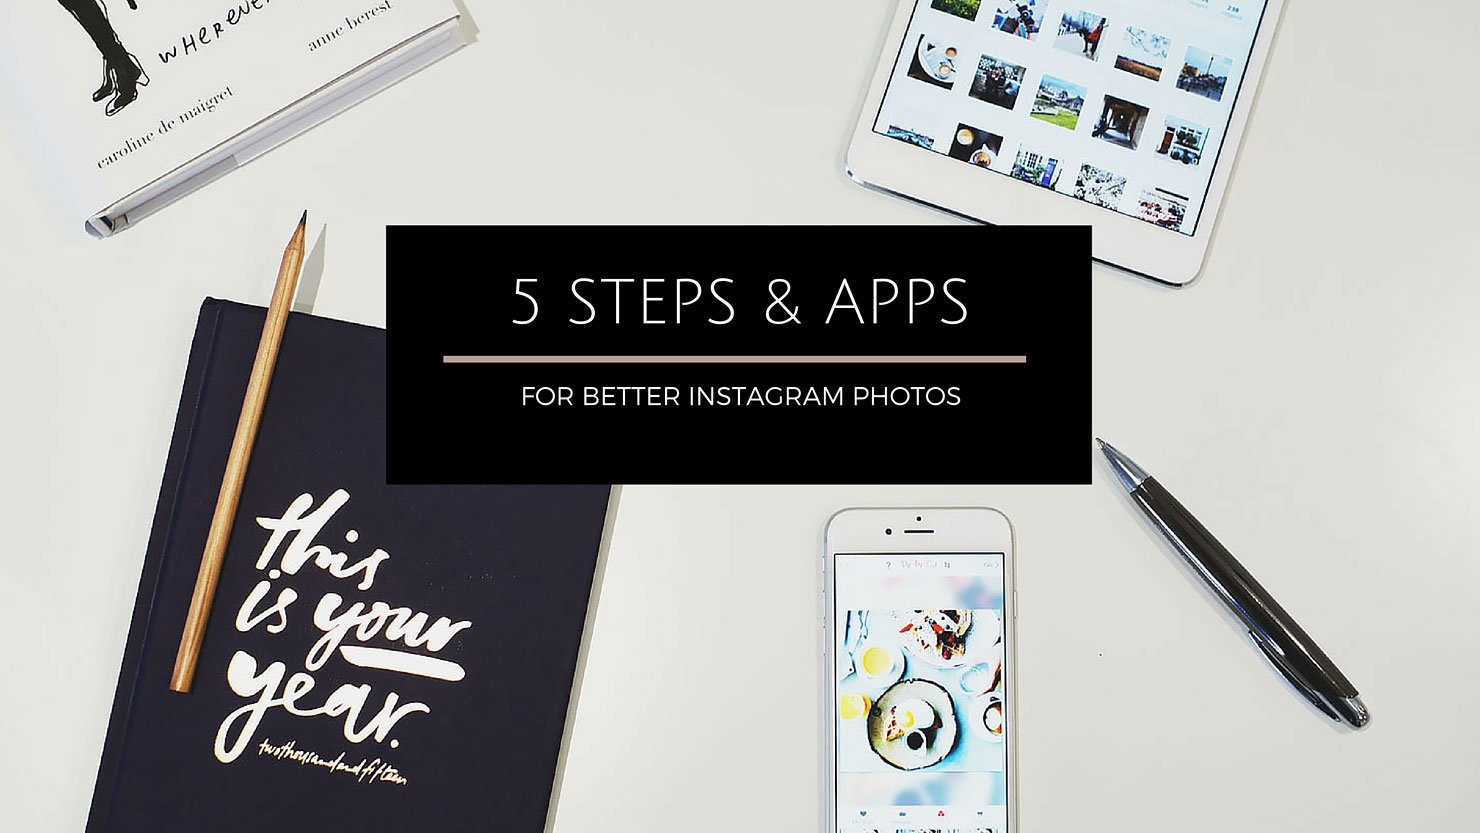
One of the things I’m always interested in is what apps other Instagrammers are using. So I thought I would share my ‘workflow’ from taking a photo with my iPhone to sharing it on Instagram. It may seem a bit much, but it really only takes a couple of minutes.
Step 1: taking the photo – Camera
You can take a photo with the Instagram app, but because I want to edit my photo before sharing it I always use the original Camera app on my iPhone. I know there are many other camera apps available that offer more functionalities, but I prefer the simplicity of this one. Plus when you’re using an iPhone you don’t have to unlock your phone to use this app, which is easy when you quickly want to take a photo.
I take the photo in the square format so I know what it will look like on Instagram. And I always take more than one photo so I can select the best one before continuing with the editing.
Step 2: fixing the basics – Pic.Tap.Go
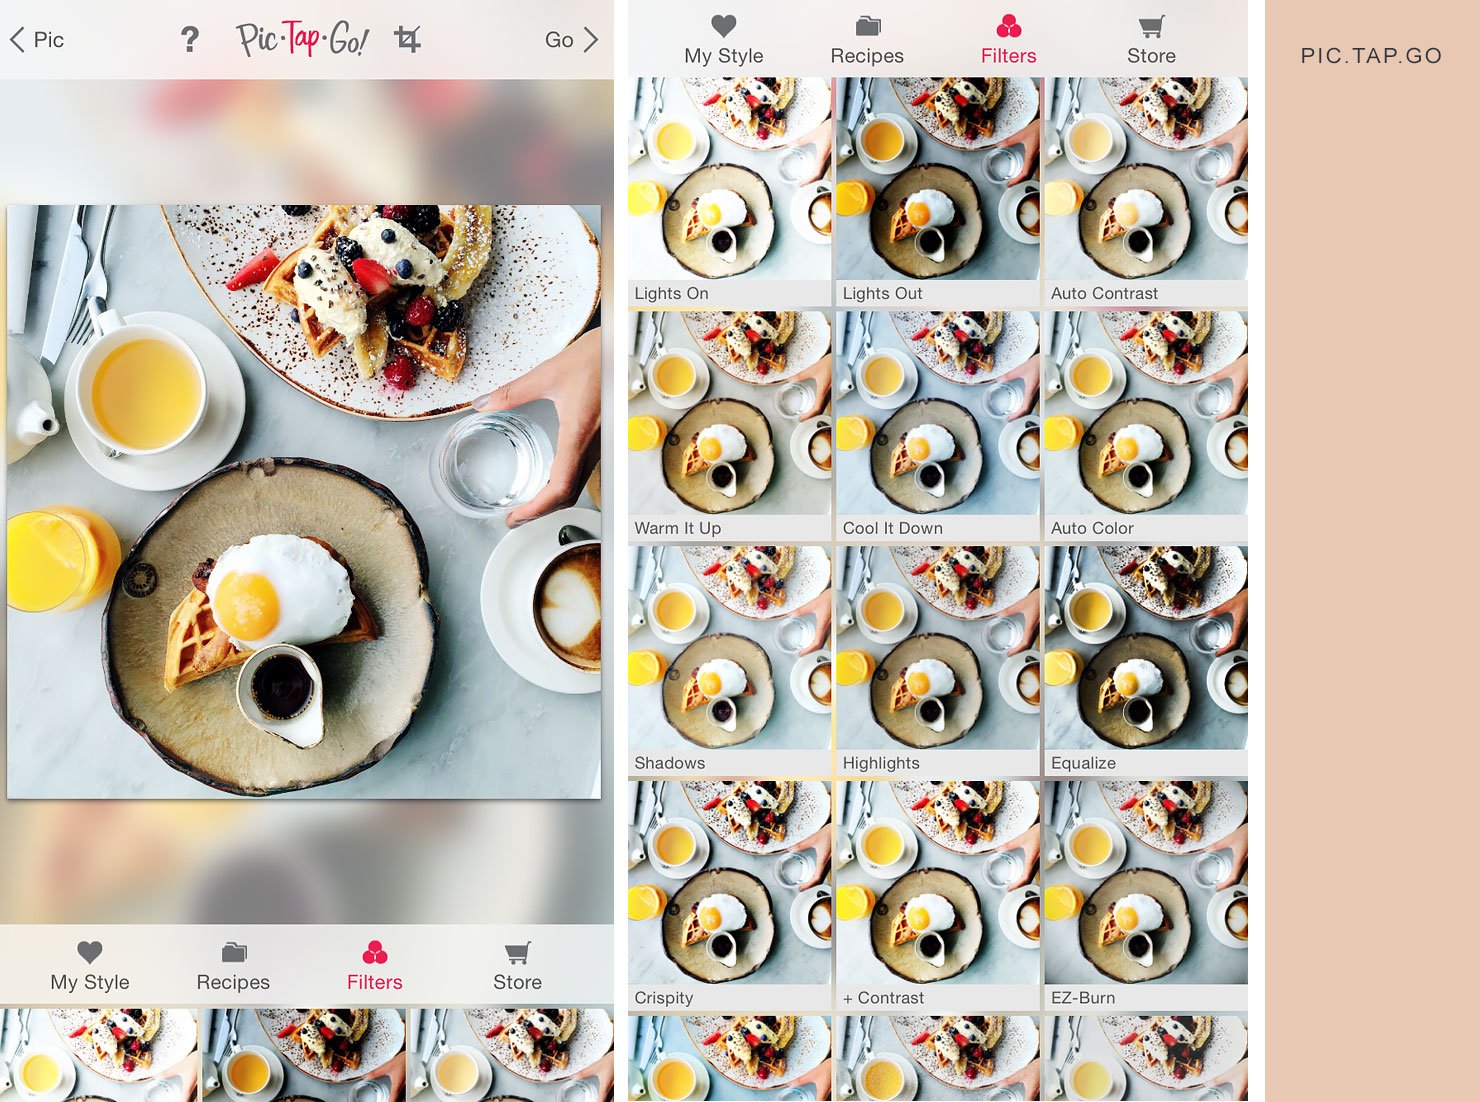
Once I’ve selected the photo that I want to post on Instagram I import it into Pic.Tap.Go. This app was developed by the same people as RadLab which I’m using to edit the photos on my blog. It’s a brilliant app and super easy to use.
To correct the colour in the photo it’s usually enough to click on the filter ‘Auto Color’. Especially when you took a photo indoors with artificial lighting it makes a huge difference.
Next I’ll add some contrast. I try ‘Auto Contrast’ first to see if that does the trick, but for some reason it sometimes changes the colors in a way that I don’t like. So if that doesn’t work I’ll click on ‘+ Contrast’ and adjust the strength with the slider underneath.
To make my photo look more bright I prefer using ‘Brightside’ instead of ‘Lights On’, but sometimes I use both.
When I’m happy with the result I click ‘Go’ and save the photo to my Camera Roll.
Step 3: filters and sharpening – VSCOcam
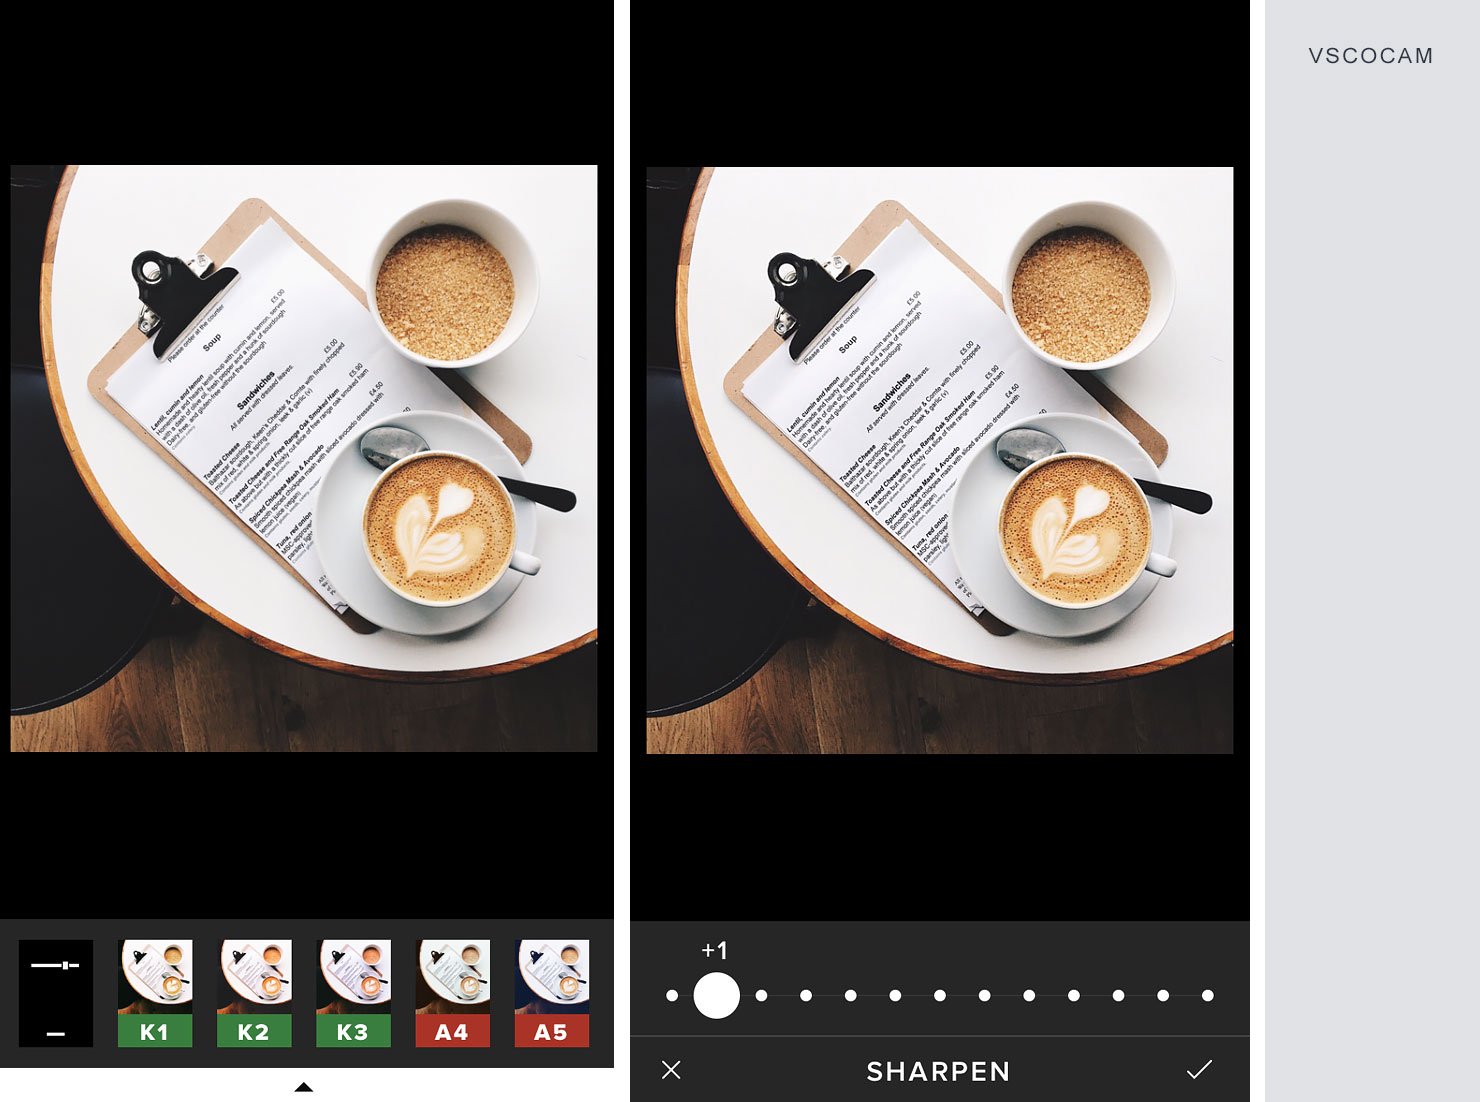
What I like about VSCOcam is that you can adjust the strength of each filter just as you like it. I almost always reduce the strength from 12 to 10. The app comes with a number of free filters, but you can buy extra filters for a reasonable price. I especially like the K, A, E, C and S series.
I don’t always go for a filter in VSCOcam. But I’m a bit obsessed with sharpness, and the sharpening tool in VSCOcam is great. You don’t need much, +1 is usually all it takes. And on certain (usually the more dark) photos I’ll add some vignetting.
Sometimes I stop here and upload the image to Instagram. But most of the time the photo could use a little extra ‘oomph’.
Step 4: make your photo pop – Fotograf
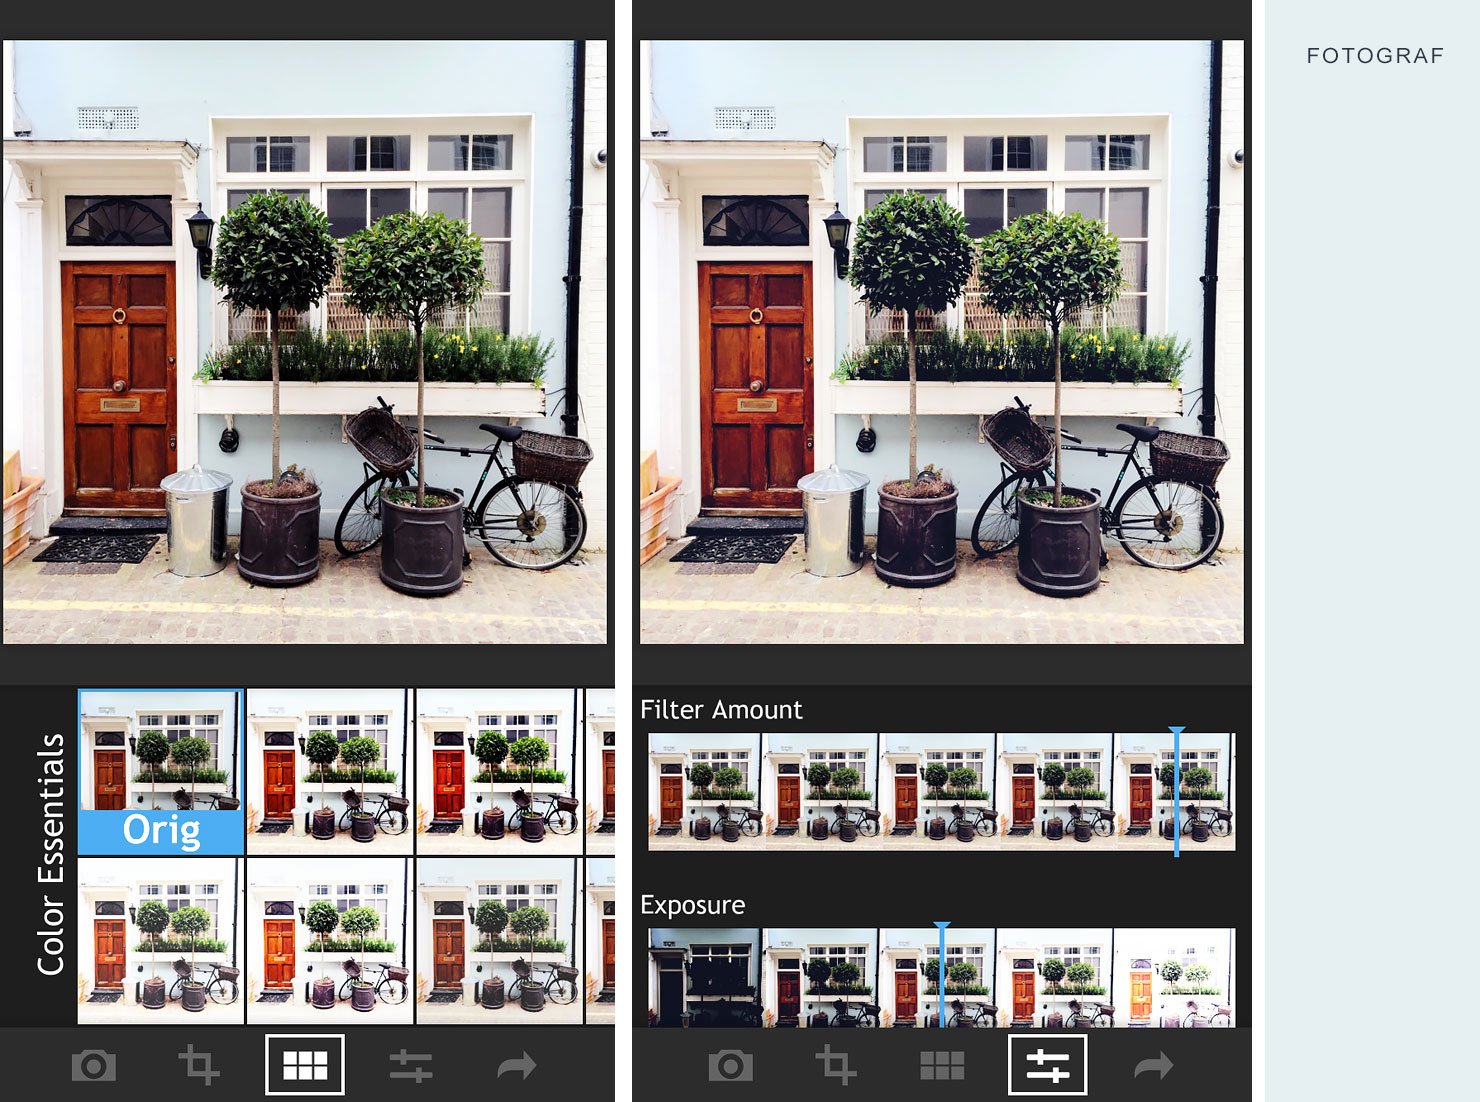
I found out about this app via one of my favorite bloggers Love Taza. She actually developed 5 custom filters for this app which you can purchase as an add-on. I’m always surprised to see what this app does to a photo I thought was already good enough. You don’t want to overdo it, but it can make your photo really pop.
Step 5: sharing your photo – Instagram
Now I’m finally ready to share my photo on Instagram. But seriously, once you’ve found the filters and adjustments in each app that work for you it’s not a lot of work.
I never use the filters in Instagram, but I often add a little bit of extra sharpness. Instagram reduces the resolution of your image, so the sharpening usually helps.
And even though I always try to take a photo with a straight horizon, most of the time I still need to straighten it. And what’s great is that you can now also fix the perspective which is especially helpful when you’re photographing buildings.
That’s it! Are these the only photo apps I have on my phone? Not really. I love trying out new apps. Some turn into favorites and others I delete after a while. And then there are certain apps I keep ‘just in case’, but those are like an expensive sweater you never wear but don’t want to throw away (basically they just take up space).
So what are your favorite photo editing apps?
